Tuesday, May 21, 2013


Lydia Newborn
 We had a lot of fun during this precious little girl's newborn photo shoot. Lydia was born Oct.15.2012 at 1:37 in the morning. She is the best thing to have ever happened to my little family.

The photographs in this scrapbook page were taken by Shelly Tripp  

It's Sweet to be 15!


It's sweet to be 15!
One of my first layouts. It's nice to get this out of the dusty back pages of my album.
When I turned 15 my mom threw me an awesome before and after makeover party. We had a temporary tattoo table, one for hair, piles of makeup, and an entire candy buffet. Take home notions were left throughout the party on tables and counter tops. Mirrors and applicators. Nail polish and candy. 
My mom even took me to the Mall of America, where sales associates handed me clothes over the doors for the whole Pretty Woman experience every girl dreams of.

Sunday, April 21, 2013

Rustic Upholstered Pillar Candles


I needed a bunch of pillar candles for centerpieces for a rustic event setting. So, I got some burlap fabric from the store, and a couple of colors of grosgrain ribbons to match my theme. I took out my hot glue gun*, put down some newspaper, and precut the burlap strips and ribbons. Then, I just hot glued the layers. I did all the burlap wraps, putting a bead of glue on the burlap at the beginning and the end; laying the candle on its side and rolling it onto the strip. Be sure to do it tightly, so they don't want to slip off when cooled. Also, adjust and even everything up while glue is still warm and malleable. Then, let them stand and cool. Next, I did all the first color of ribbon, then let them cool. Then, I did all the second layer of ribbon and let them cool. I am considering adding an embellishment over the overlaps. But you don't need to, the flaws add to the charm. I didn't do it alone; I had two people working with me and together we were able to do 23 candles in under an hour.  Alone, I probably would have gotten into a groove and still finished pretty fast.

*cautionary note: Hot glue gun and melted glue is very hot. Use caution and uncommon sense with these tools and products.

Saturday, April 20, 2013

My bachelorette party invitations


Since childhood, I've had a love for amazing themed parties. That usually leads me to creating awesome invitations. Even when I am not the one throwing the party. I would happily spend $100 creating unique and personal invites for every occasion. But luckily it doesn't cost that much. After building up my paper supply it is finally cost efficient to make make them myself rather than buy. I jumped on the opportunity to prepare them for my own bachellorette party, and with the help of my crafty little sister, we designed these simple and exclusive cards.
Throughout the one hour consultation over the phone with her we changed color, added detail, and finally fell in love with the dark turquoise with minty green.
Which do you prefer?


Friday, April 13, 2012

My Family as Babies!

I am excited to debut my newest project My Family as Babies: a scrapbook of, well, my family as babies. All of which will lead into my baby's scrapbook. Yes, that means I am a mother to be!! I have 5 months to compile such a book, before my life becomes completely revolved around my little ball of joy. 
I came across these amazing photos of my grandpa (on my mom's side), his mother, and his older brother.

Thursday, March 22, 2012

Nothing fancy, Just a little moss growing experiment

 I watched a show once and their feature was on how to make moss grow in selected locations. While at my family's cabin i decided to try it out. I walked the old familiar trails of my childhood, in search of some already grown and thriving moss patches to take home with me.
This isn't the prettiest chunk i could have dug up, but for an experiment it would work perfectly. 
I then assembled my necessary tools;
  • A blender
  • Some bricks
  • Plain yogurt, a beer, or buttermilk
  • A glass of water
  • A dish pan
There are several different ways to cultivate moss. I chose to pull the moss from the dirt, throw it in the blender, and puree it with a few scoops of watered down yogurt (moss thrives on highly acidic areas, and the yogurt provides that acidity).
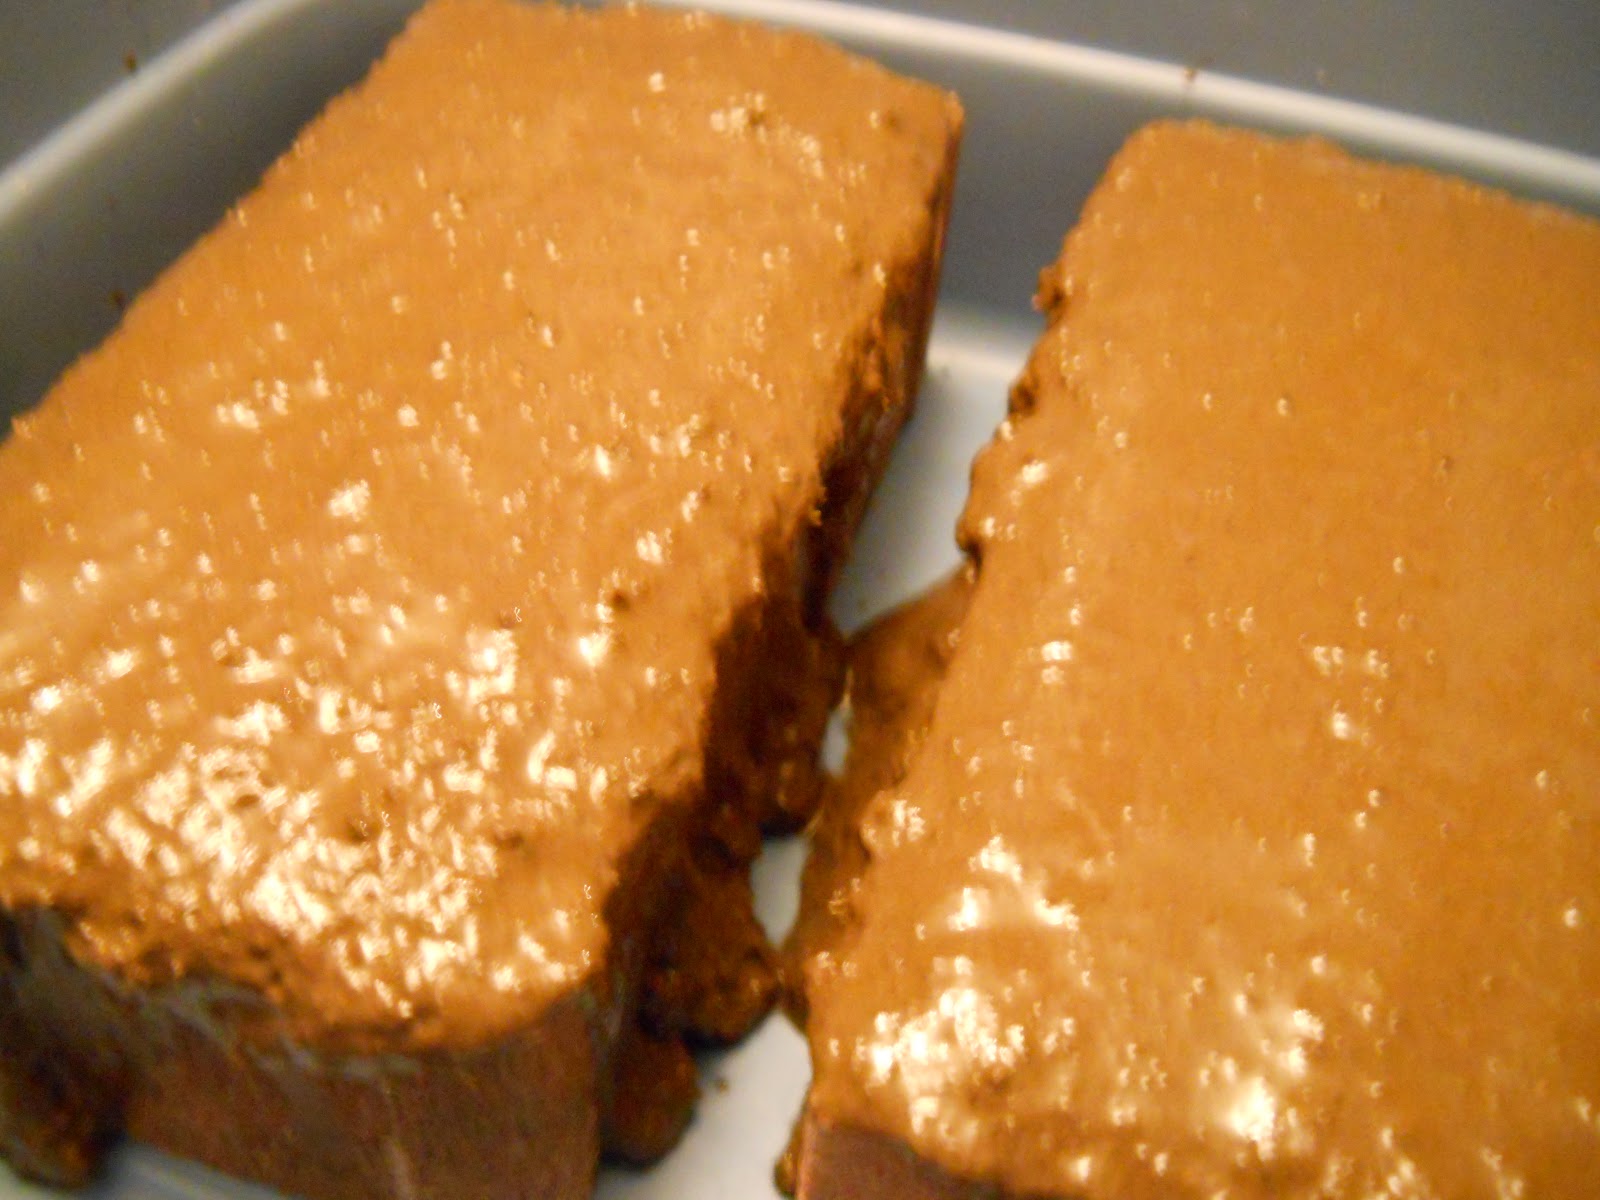
I read that some people paint on their mixture, and some pour it. I chose to pour. Mine may have been too thick, it was almost a chocolate milkshake consistency. 
It has been raining for the past two days, so my moss is incubating in my spare bedroom with the door shut. This is not strongly recommended. Within the first two days it started to grow white mold, which is to be expected, and when the rain stops I'll move it to the back of my house where it will thrive under the boat, or I'll put it under my front steps. Avoid direct light, as moss is used to shade and will dry up quickly in the sun. Within 4-6 weeks i should have a thriving set of brick moss!!


So, just to update: 
My moss experiment was a total FLOP. I did however manage to cultivate some fuzzy white mold. I think the cold blast we had a few days after the trial killed the possible moss growth. we will have to try again using a different recipe.

*EDIT*
Well i gave it its go. If i had had time to spray it every day it probably would have been successful, but doing it indoors can leave a funky smell in the room. I suggest doing it outside.

Monday, April 11, 2011

Coffee Pot Candle Warmer


I hate when my candles burn lopsided. My mom used to press the wax down, but would still end up with deep wells in her pillar candles. Shave off the excess candle wax, you can even use remnants of other old candles, and melt the leftover wax in a candle warmer.  Now I've seen candle warmers range in prices between $5 to $50 and although they can be beautiful, it is not necessary to spend that much. Instead simply find a heat resistant container (I like to use coffee cups or tomato paste cans), and put it where you would normally put your coffee urn! Make sure to turn it off when you aren't home though.